

Are you new to the Cardano cryptocurrency? Maybe you’re looking to trade some funds? Or are you looking to meddle with some NFTs? Whichever one of the dozens of opportunities of the crypto world lured you in, first things first is to set up a secure Cardano wallet.
Cardano is an open source and decentralized blockchain that allows peer-to-peer transactions and can be highly efficient in developing apps, new crypto tokens, sending and receiving funds, and assists in investing in some incredible NFTs.
A Cardano wallet is a tool that enables you to interact with the Cardano Blockchain platform. With so many security threats, choosing a safe and secure wallet is highly recommended. Among the different options available on the market, Nami might be the best solution.
How to set up Nami Wallet: A Step by Step Guide.
Nami is a browser-based wallet extension to interact with the Cardano blockchain and is non-custodial, so you have complete authority over it. It can send and store multiple assets, delegate, mint tokens, use multi-sigs, and much more.
To set up the Nami wallet account, you must follow the steps below. They are supported by pictures for your assistance.
Step 1: Download the extension on your desktop
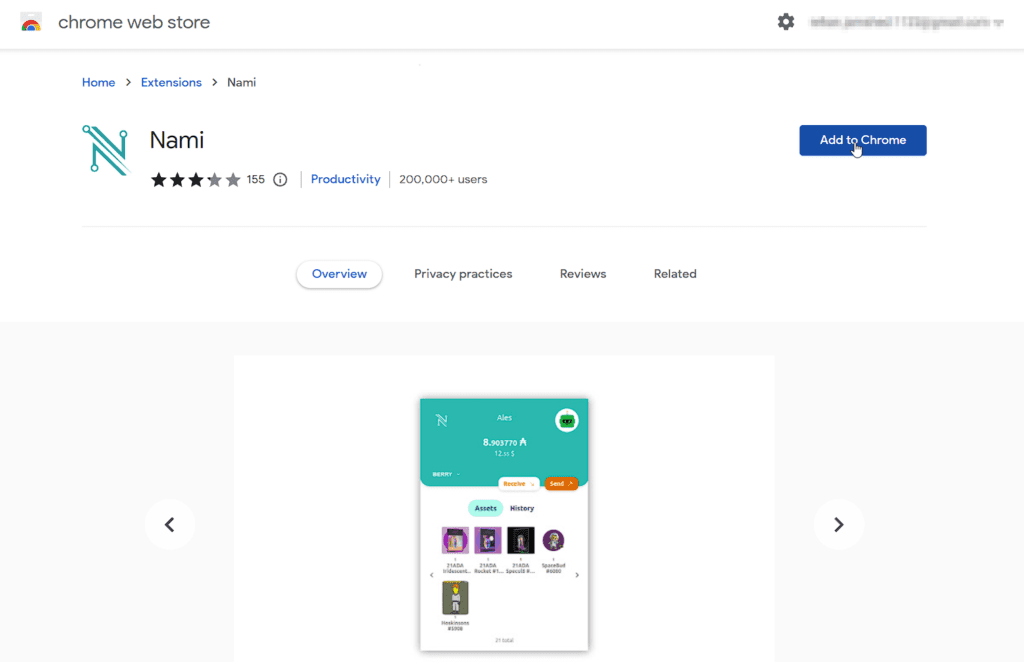
To download this, you can either go to Nami’s website or visit the chrome extension store. As of now, the wallet is only available on Chrome, Edge, and Brave. Clicking on chrome will take you through the chrome store. Ensure you download the accurate one with a similar logo to the one provided in the image below.
Then click on “Add to Chrome” and then click on add extension, which is going to install Nami on your browser.
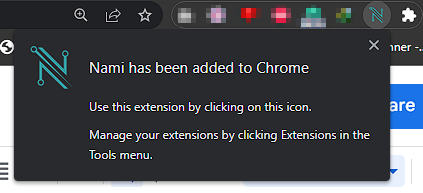
Once installed, you will see Nami with other extensions in your browser.
Step 2: Create a new wallet:
After clicking on Nami wallet in your extension bar, you should be able to see two options; import wallet or create a new wallet. You can import your wallet if you have Daedalus or Youroi on your browser(if you’re here for a new Nami wallet, It’s ok if you don’t know these), but it isn’t advisable to use the same wallet as it might create some problems, as suggested by Nami itself.

Select a new wallet. It will show you the terms and conditions. Click on agree and continue.
Step 3: Seed phrase verification
After clicking on continue, you should be able to access a table containing 24 words. This is your seed phrase. Make sure that no one is around or watching your screen because the seed phrase allows complete access to your wallet.
You can either copy the seed phrase into a secure folder or store it in a safe place. If you lose this, you lose your wallet so you must be careful. Saving the seed phrase in its order is also important because you will need it right after clicking on next to verify it.
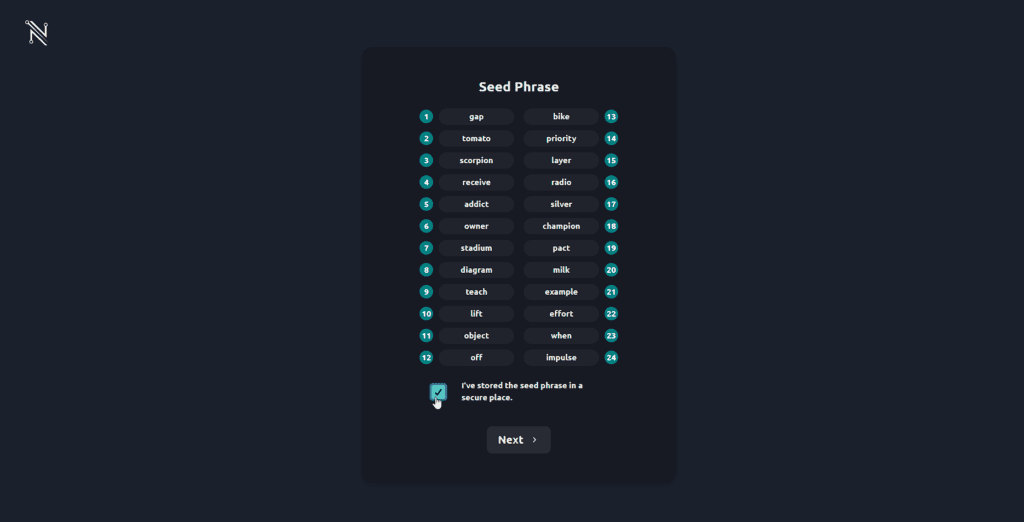
Then click on “I’ve stored the seed phrase in a secure place.’’ Just verify the seed phrase, and you’re good to move on to the next step.
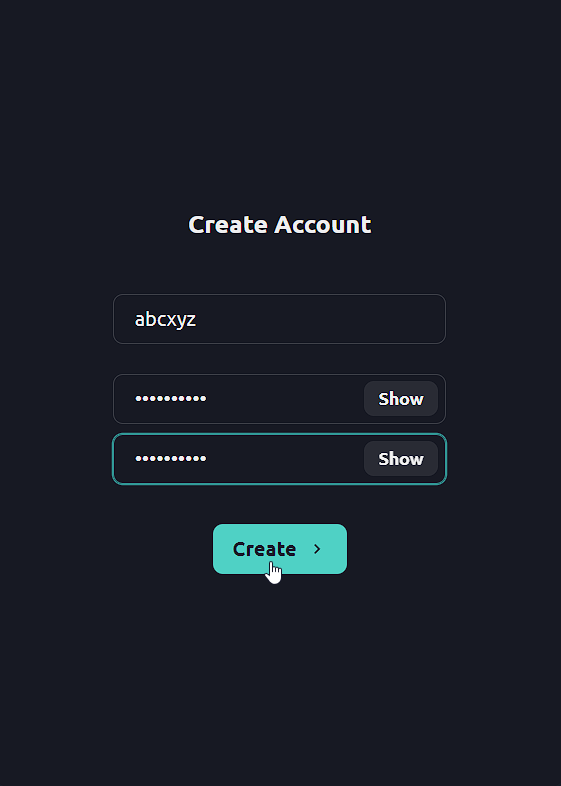
Step 4: Create a new account
Once you’ve verified the seed phrase, you can set up your username and password. This password is different from the seed phrase as it is the password that you use on this specific browser to log in and open the application. Once you’ve done that, it should grant you access to the wallet.
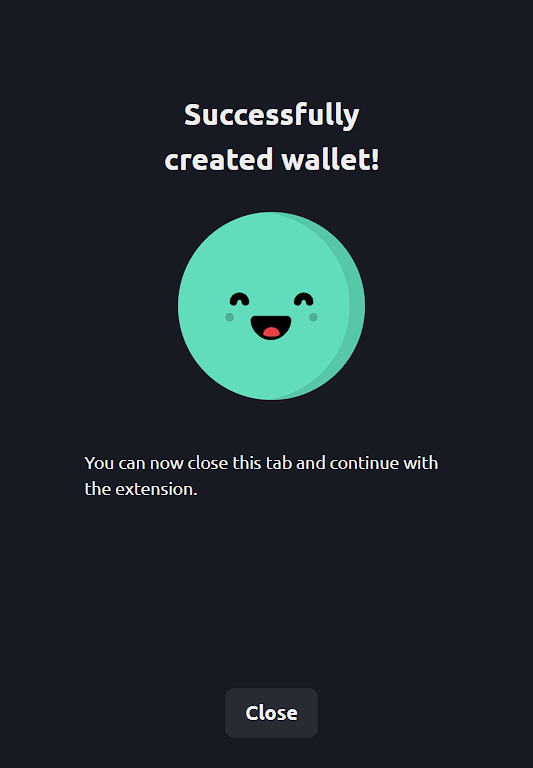
Then it will show you confirmation that your wallet has been successfully created.
Step 5: Access your account.
Once you get the confirmation, you can click on the Nami extension in your browser’s extension bar, showing you your wallet.
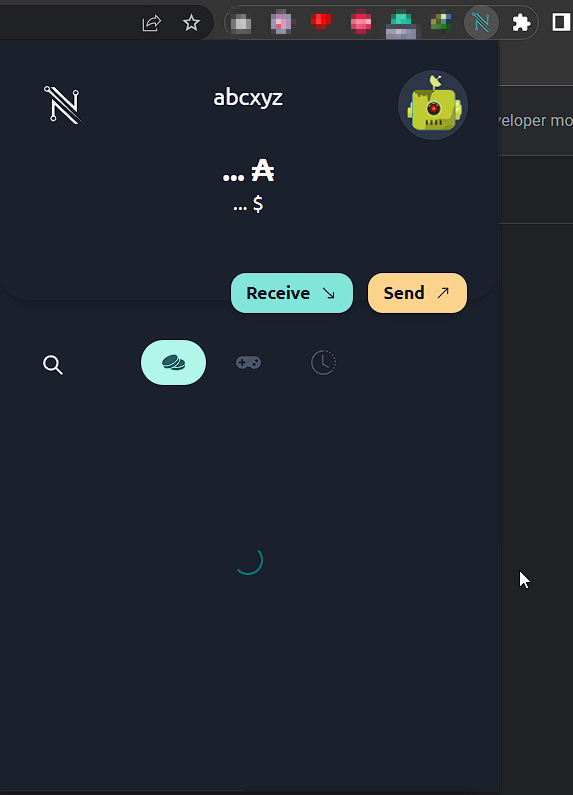
Congratulations, you have now created your own Nami wallet!
 Bitcoin
  Ethereum
  Tether
  BNB
BNB  USDC
USDC  XRP
XRP  Solana
  TRON
TRON  Figure Heloc
  Hyperliquid